Pick up a kendama in Japan and you’ll see a simple wooden cross with a ball dangling from a string. Then someone flicks their knees, the ball leaps into the air, and — click — it lands neatly in a cup or spears onto a spike as if pulled by a magnet. It looks effortless. It isn’t. That gap between “looks easy” and “actually landing it” is exactly why kendama has charmed players in Japan for generations and built a passionate following worldwide.
This guide walks a first-timer through what matters: what a kendama is, the name of every part, how it’s made, the beginner tricks to start with, and how to pick a good first one.
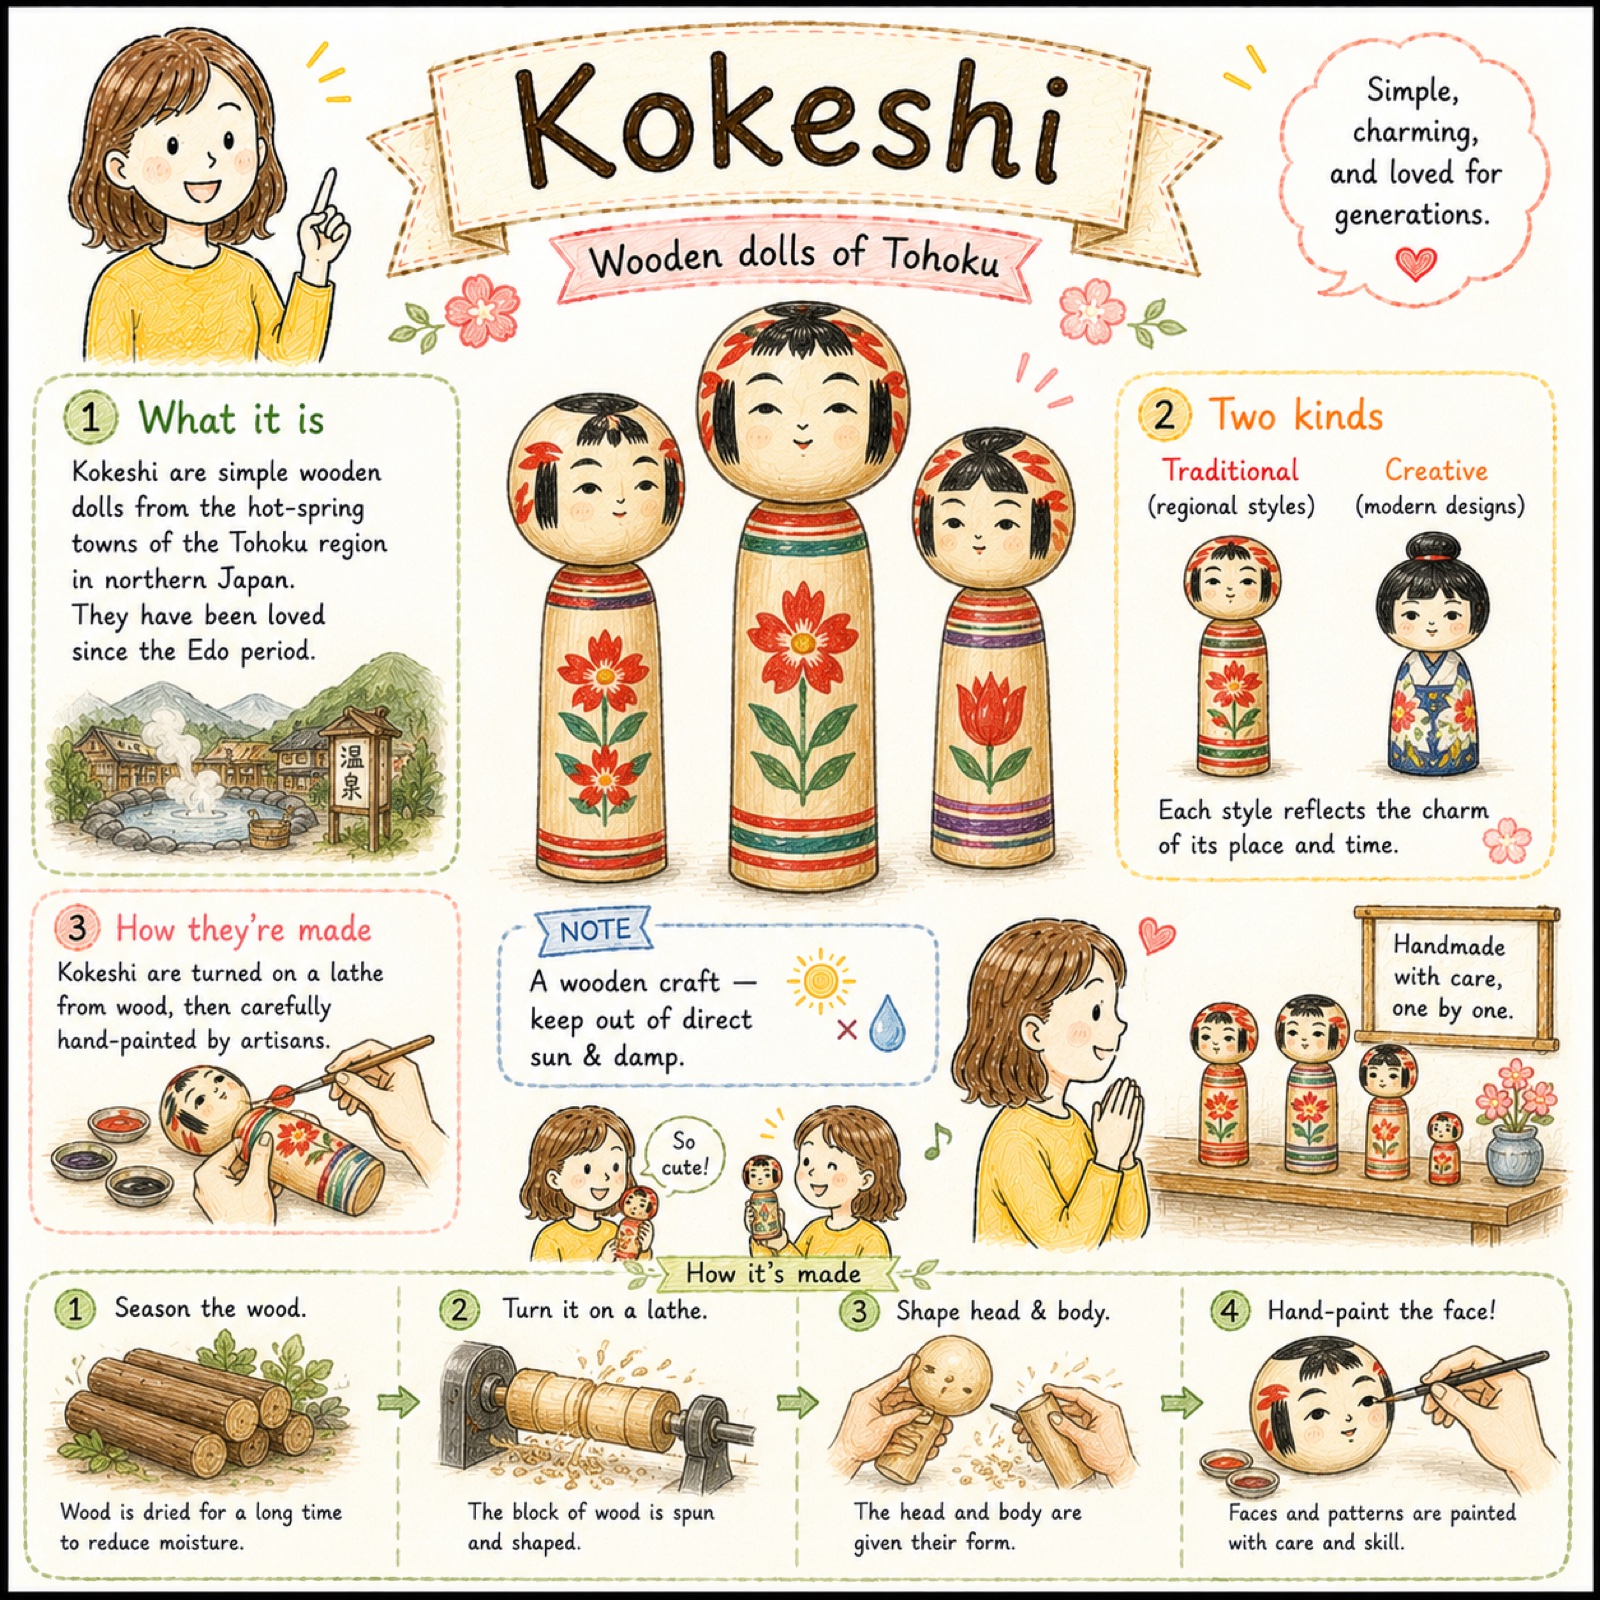
Why Kendama Is Loved
The appeal of kendama is wonderfully simple. There’s nothing to charge and no screen — just a piece of wood, a string, and a ball. You can play in a kitchen, waiting for a train, or sitting in a park.
It’s also quietly addictive. Catching the ball in the big cup feels like a small victory, and the moment you land it you want to try the smaller cup, then the spike, then something harder. Because the basics are easy to attempt but the tricks scale up endlessly, kendama suits almost any age — a curious child and a focused adult can stand side by side and both be challenged.
That accessibility has made kendama a genuinely global hobby. What began as a traditional Japanese toy is now an international scene with brands, competitions, and a huge community of freestyle players who string together flowing combos. Many people simply enjoy practicing it for the fun of chasing that next clean catch.
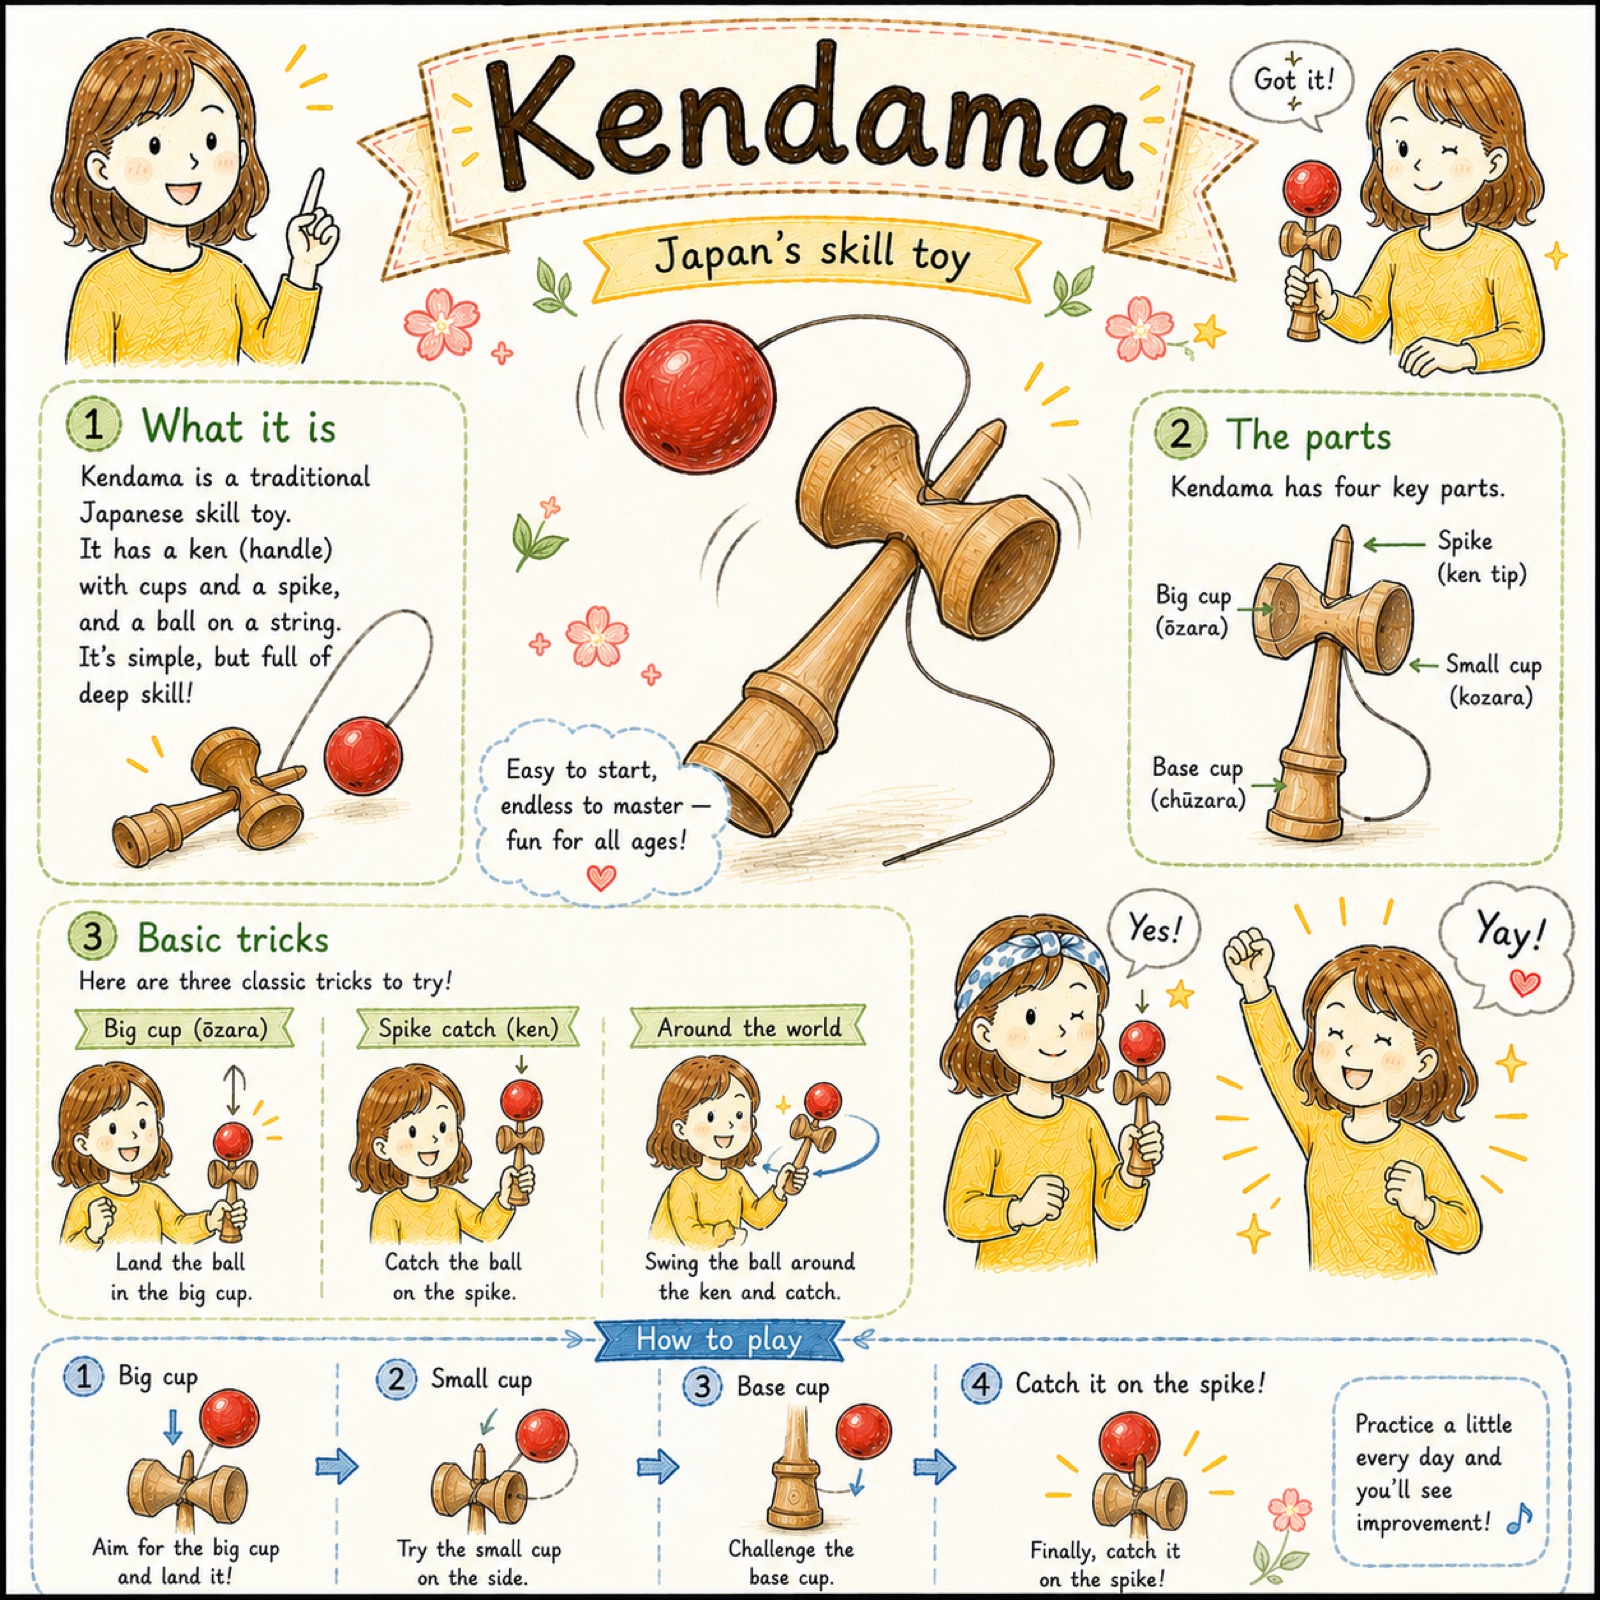
The Parts of a Kendama
A kendama looks like one piece, but it’s really a small kit of named parts working together. There’s the ken (the handle), the tama (the ball), and a string that ties them. The ken carries a pointed spike and a set of three cups of different sizes. We’ll lay out exactly what each part is and what it does in the comparison table below.
| Part (Japanese) | What It Is | Its Role |
|---|---|---|
| Ken (けん) | The wooden handle — a spike at one end and a crosspiece holding the cups. | The body you hold and control; everything else attaches to it. |
| Spike (けん先 / kensaki) | The pointed tip at the top of the ken. | Catches the ball through its hole — the basis of the spike (tomeken) trick. |
| Big cup (大皿 / oozara) | The largest cup, about 4 cm across, on one side of the crosspiece. | The easiest target and the usual first trick for beginners. |
| Small cup (小皿 / kozara) | The smaller cup, around 3.7 cm, on the opposite side of the crosspiece. | A tighter target that sharpens your aim and timing. |
| Base cup (中皿 / chuzara) | The shallow cup at the bottom end of the ken, around 3.5 cm. | Caught with a different grip; key step in the “around the world” combo. |
| Ball (玉 / tama) | A wooden ball, about 6 cm across, with a single hole drilled in it. | The piece you fling and catch; its hole fits onto the spike. |
| String (糸 / ito) | A cord running through the ken and tied to the ball through its hole. | Keeps ball and handle together and lets the ball swing freely for tricks. |
Sources: Japan Kendama Association (kendama.or.jp); Web Japan / Kids Web Japan (web-japan.org); Wikipedia, “Kendama” (en.wikipedia.org).
What Is a Kendama, and How Is It Made?
A kendama (けん玉) is a traditional Japanese skill toy in the worldwide “cup-and-ball” family, but with a twist: instead of one cup it has three cups plus a spike, making a far wider range of catches possible. In Japan it’s recognized as traditional play culture, and the Japan Kendama Association (JKA) sets official standards for competition models and runs a structured grading system.
A standard kendama is made from wood, and the build follows a few clear steps:
- Choosing the wood. Makers commonly use hardwoods such as beech, birch, or cherry, prized for being durable and pleasant to handle. The tama (ball) and the ken (handle) may use different woods.
- Turning the shapes. Each piece is turned on a lathe — the cross-shaped cup body, the handle with its spike, and the round ball with a single hole drilled into it.
- Painting and finishing. The ball is usually painted, and the type of paint (grippy or slick) changes how the toy feels to play. A small bead and the string are added to connect everything.
- Stringing it together. The string runs through the ken and ties to the tama through its hole, so the ball can swing freely and be flung up for each trick.
A typical play-sized kendama has a tama around 6 cm across, and a regulation JKA model weighs roughly 140–160 g in total — light enough to flick, heavy enough to feel deliberate.
How to Play: Basic Tricks
Almost every trick starts the same way: hold the ken, let the tama hang below on its string, bend your knees, and lift smoothly so the ball rises straight up. Catching is about cushioning — drop your knees as the ball lands to “absorb” it rather than letting it bounce off. Here are the classic beginner tricks, roughly in order of difficulty.
- Big cup (oozara). The friendliest first trick. Hold the ken so the largest cup faces up, let the tama hang, then dip and lift to pop the ball up and catch it in the big cup. Land this a few times and you’ve got the core motion of the whole toy.
- Small cup (kozara). Same idea, but you flip the ken so the smaller side cup faces up. The smaller target makes your aim and your knee-cushion matter more.
- Base cup (chuzara). This is the cup at the very bottom of the handle. Hold the ken by the spike end and catch the ball in that bottom cup. It trains a different grip and angle.
- Spike / catch on the spike (tomeken). The signature kendama move. With the spike pointing up, pull the tama straight up and guide the hole in the ball directly down onto the spike. The trick is to keep the ball’s hole facing the spike as it rises — then let it settle on cleanly.
- Candle (rosoku). Flip the ken upside down so the spike points down and you hold the body like a candle, with a cup facing you. Toss the tama up and catch it on the upturned base. A satisfying step up that teaches control of an unusual grip.
- Around the world (sekai isshu). A flowing combo: catch the ball in the big cup, swing it around to the small cup, then to the base cup, and finally onto the spike — a full “trip around the world” of the kendama. This one rewards everything you learned in the moves above.
A good first goal is simply landing the big cup ten times in a row. Once that feels natural, the spike is the trick everyone wants next.
How to Choose a Kendama
Not all kendama play the same, and a little care here saves frustration.
- Beginner vs. competition. Beginner-friendly models often have slightly oversized cups, which give the ball a larger landing target and make early wins come faster. Competition-style kendama follow JKA-approved shapes with regulation cups and a bevel that suits advanced balance tricks. A regulation-sized model is a fine place to start, too — you don’t need anything fancy to learn.
- Size and weight. Stick close to standard dimensions (tama around 6 cm, total weight in the 140–160 g range). A wildly oversized novelty kendama looks fun but handles nothing like the real thing.
- Paint and grip. This is the choice that matters most for beginners. Sticky (grippy) paint gives the ball more bite, so it settles into cups and onto the spike more easily — great while you’re learning. Slick paint (or bare, unpainted wood) feels fast and “icy,” which some experienced players prefer for smooth balance tricks but which makes the basics harder. If in doubt, start sticky.
Frequently Asked Questions
Is kendama hard to learn?
The very first cup catches usually come within a session or two, so getting started is easy. Mastering the spike and stringing tricks together takes real practice — that steady climb is a big part of the appeal. Many people just enjoy the practice itself.
What age is kendama good for?
It’s wonderfully all-ages. Children enjoy the simple cup catches, while teens and adults dig into the harder tricks and freestyle combos. There’s no upper limit — plenty of skilled players are grown adults.
What’s a good first trick?
The big cup (oozara) is the standard starting point. Try to land it ten times in a row to lock in the basic knee-and-lift motion, then move on to the small cup and the spike.
What is a competition kendama?
A competition kendama follows the official Japan Kendama Association (JKA) specifications — regulation size, weight, and cup shape, usually in approved hardwoods. The JKA also runs a kyu/dan grading system (similar to martial-arts belts) so players can test their skills against set tricks.
Do I need a sticky or a slick kendama?
For learning, a sticky-paint kendama is the easier choice because the ball grips the cups and spike more readily. Slick or unpainted models are popular with advanced players for balance-heavy tricks, but they’re less forgiving for beginners.
A Small Wooden Companion
A kendama asks for almost nothing — no battery, no screen, no space — and gives back that simple, repeatable thrill of finally landing a catch you’ve missed a hundred times. It travels from a quiet Japanese tradition to parks and competition stages worldwide on the strength of one honest idea: pick it up, flick your knees, and chase the click. Start with the big cup, aim for the spike, and let the rest unfold one trick at a time.
About the author
KOBUO is the creator of Kobuo’s Japan Guide, sharing authentic Japanese food, traditions, and crafts with curious readers around the world. Every guide is carefully researched and paired with an original hand-drawn illustration. More about Kobuo →